Pilot Partner’s CFI Dashboard is a tool that allows flight instructors to manage their students progress in Pilot Partner. It can be a real challenge to get started with a complex tool like the CFI Dashboard, so this guide will help you get started and get the most out of the CFI Dashboard.
Setting up the CFI Dashboard
If you indicated that you were a CFI when you signed up with Pilot Partner, you already have access to the CFI Dashboard. To check, just log into https://pilotpartner.net and look to see if you have the CFI Dashboard menu item at the top of the screen.
If you do not have the CFI Dashboard enabled, go to your My Account page and click “Enable CFI Dashboard.” Simply add your CFI # and Expiration date and you are good to go.
Adding Students
In order to use the CFI Dashboard, both the Student and the CFI needs to use Pilot Partner. The CFI Dashboard works best if Pilot Partner is the student’s primary logbook, but if the student wants to keep a paper logbook or use another electronic logbook, the Dashboard will still help monitor the progress.
There are multiple different ways that a student will show on your CFI Dashboard. Typically, the student will automatically show up after you fly with the student for the first time. But you can get them listed before the first flight as well.
Method 1) Student Adds the CFI
When your student flies with you for the first time, have your student log their flight in Pilot Partner as they normally would. Your student can use their iPhone/Android device or log their flight using their computer’s web browser.
The important step for your student is to tag you as their instructor on the flight. They will need to know the email address you have associated with your Pilot Partner account. On the flight your student will need to do the following:
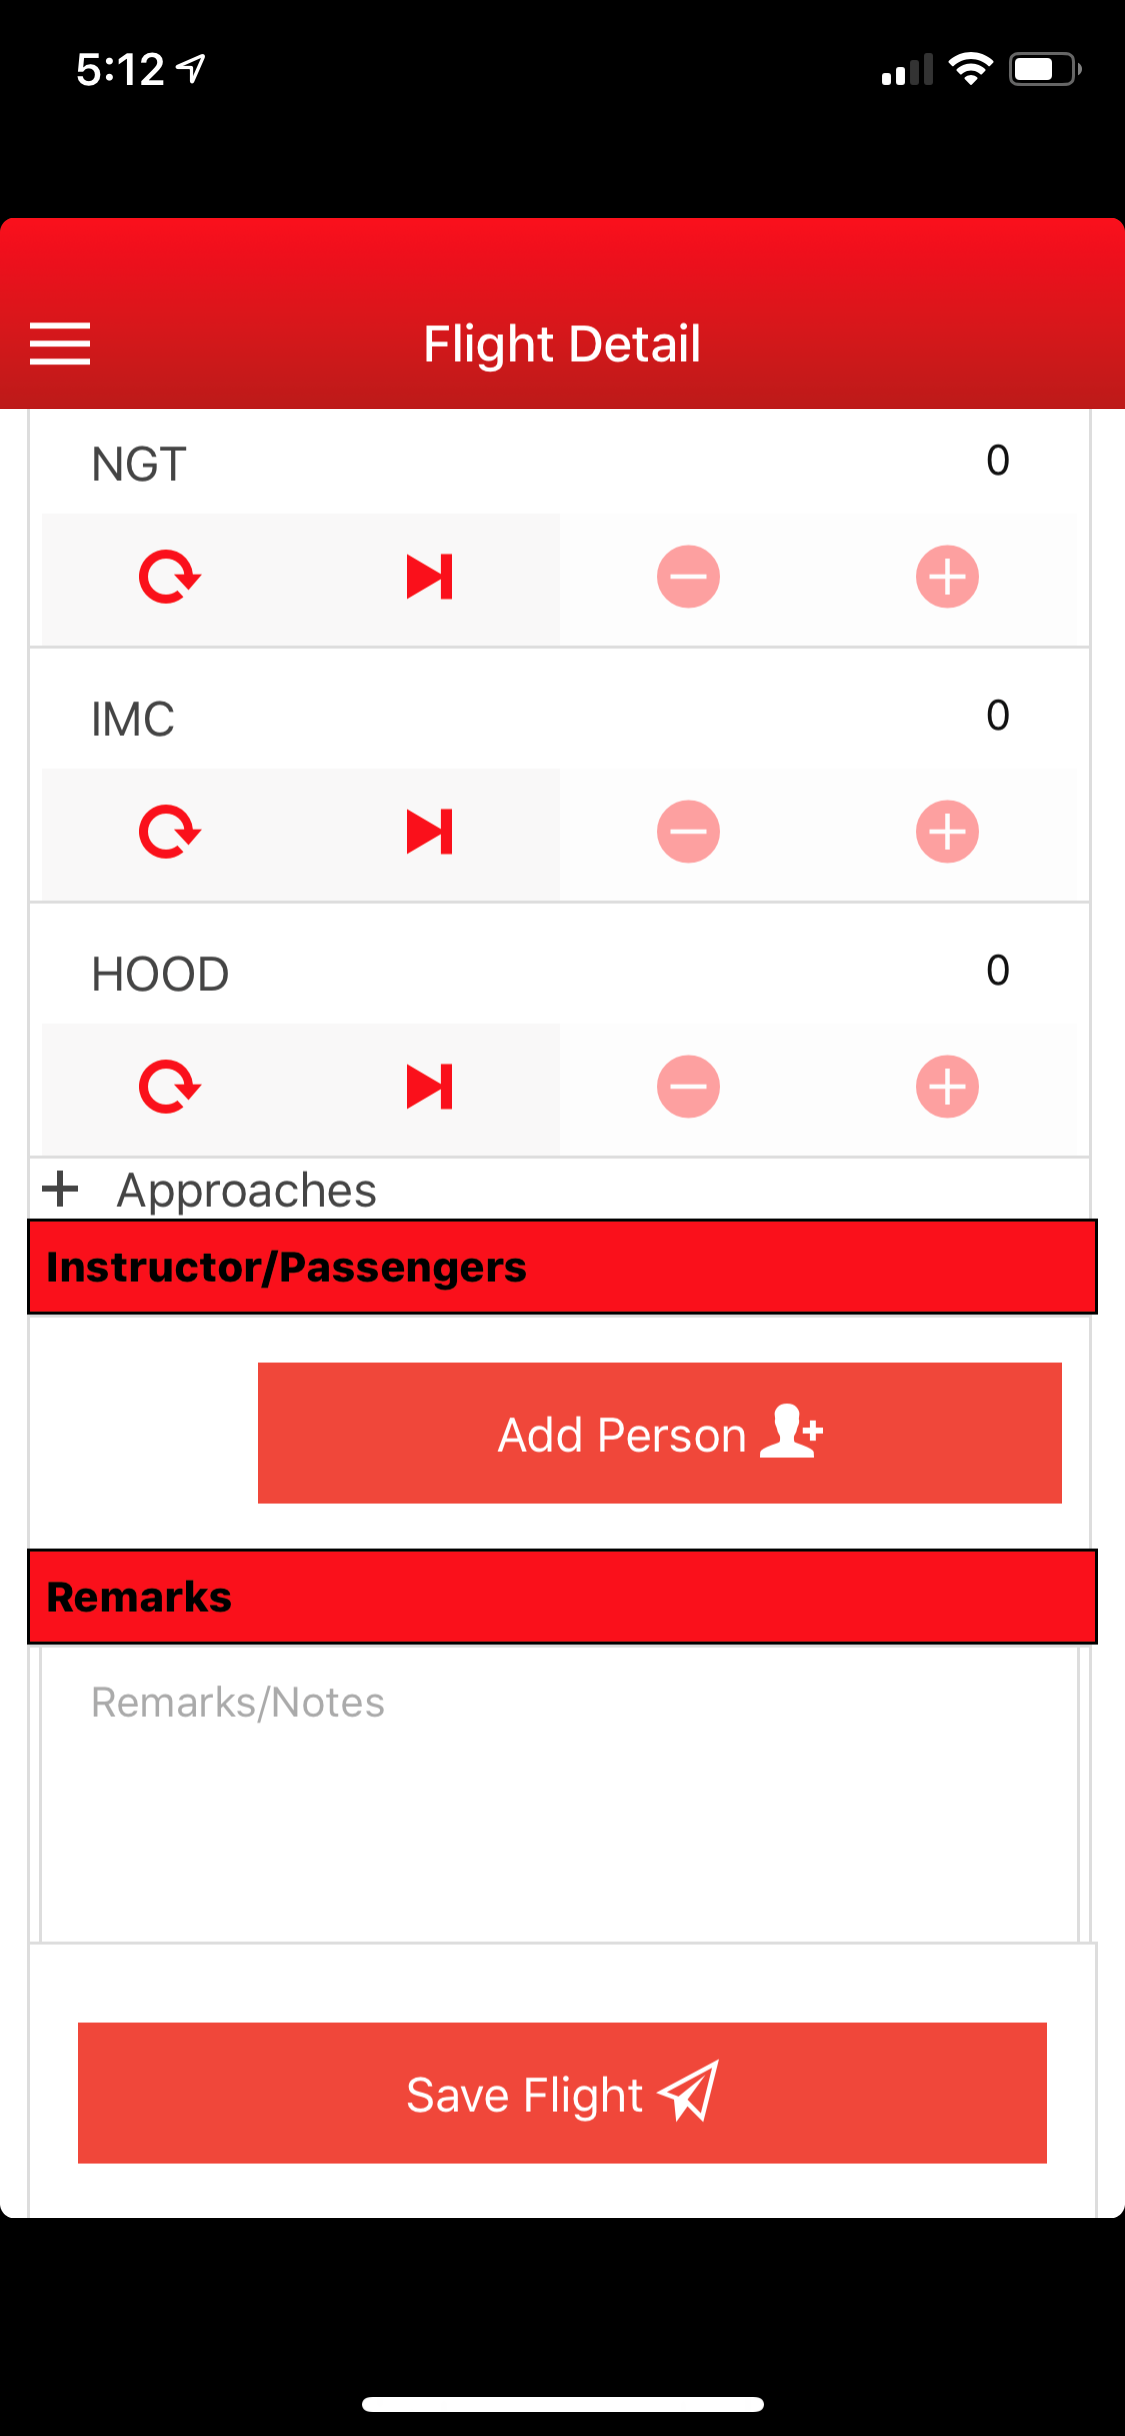
- Add Person to the Flight
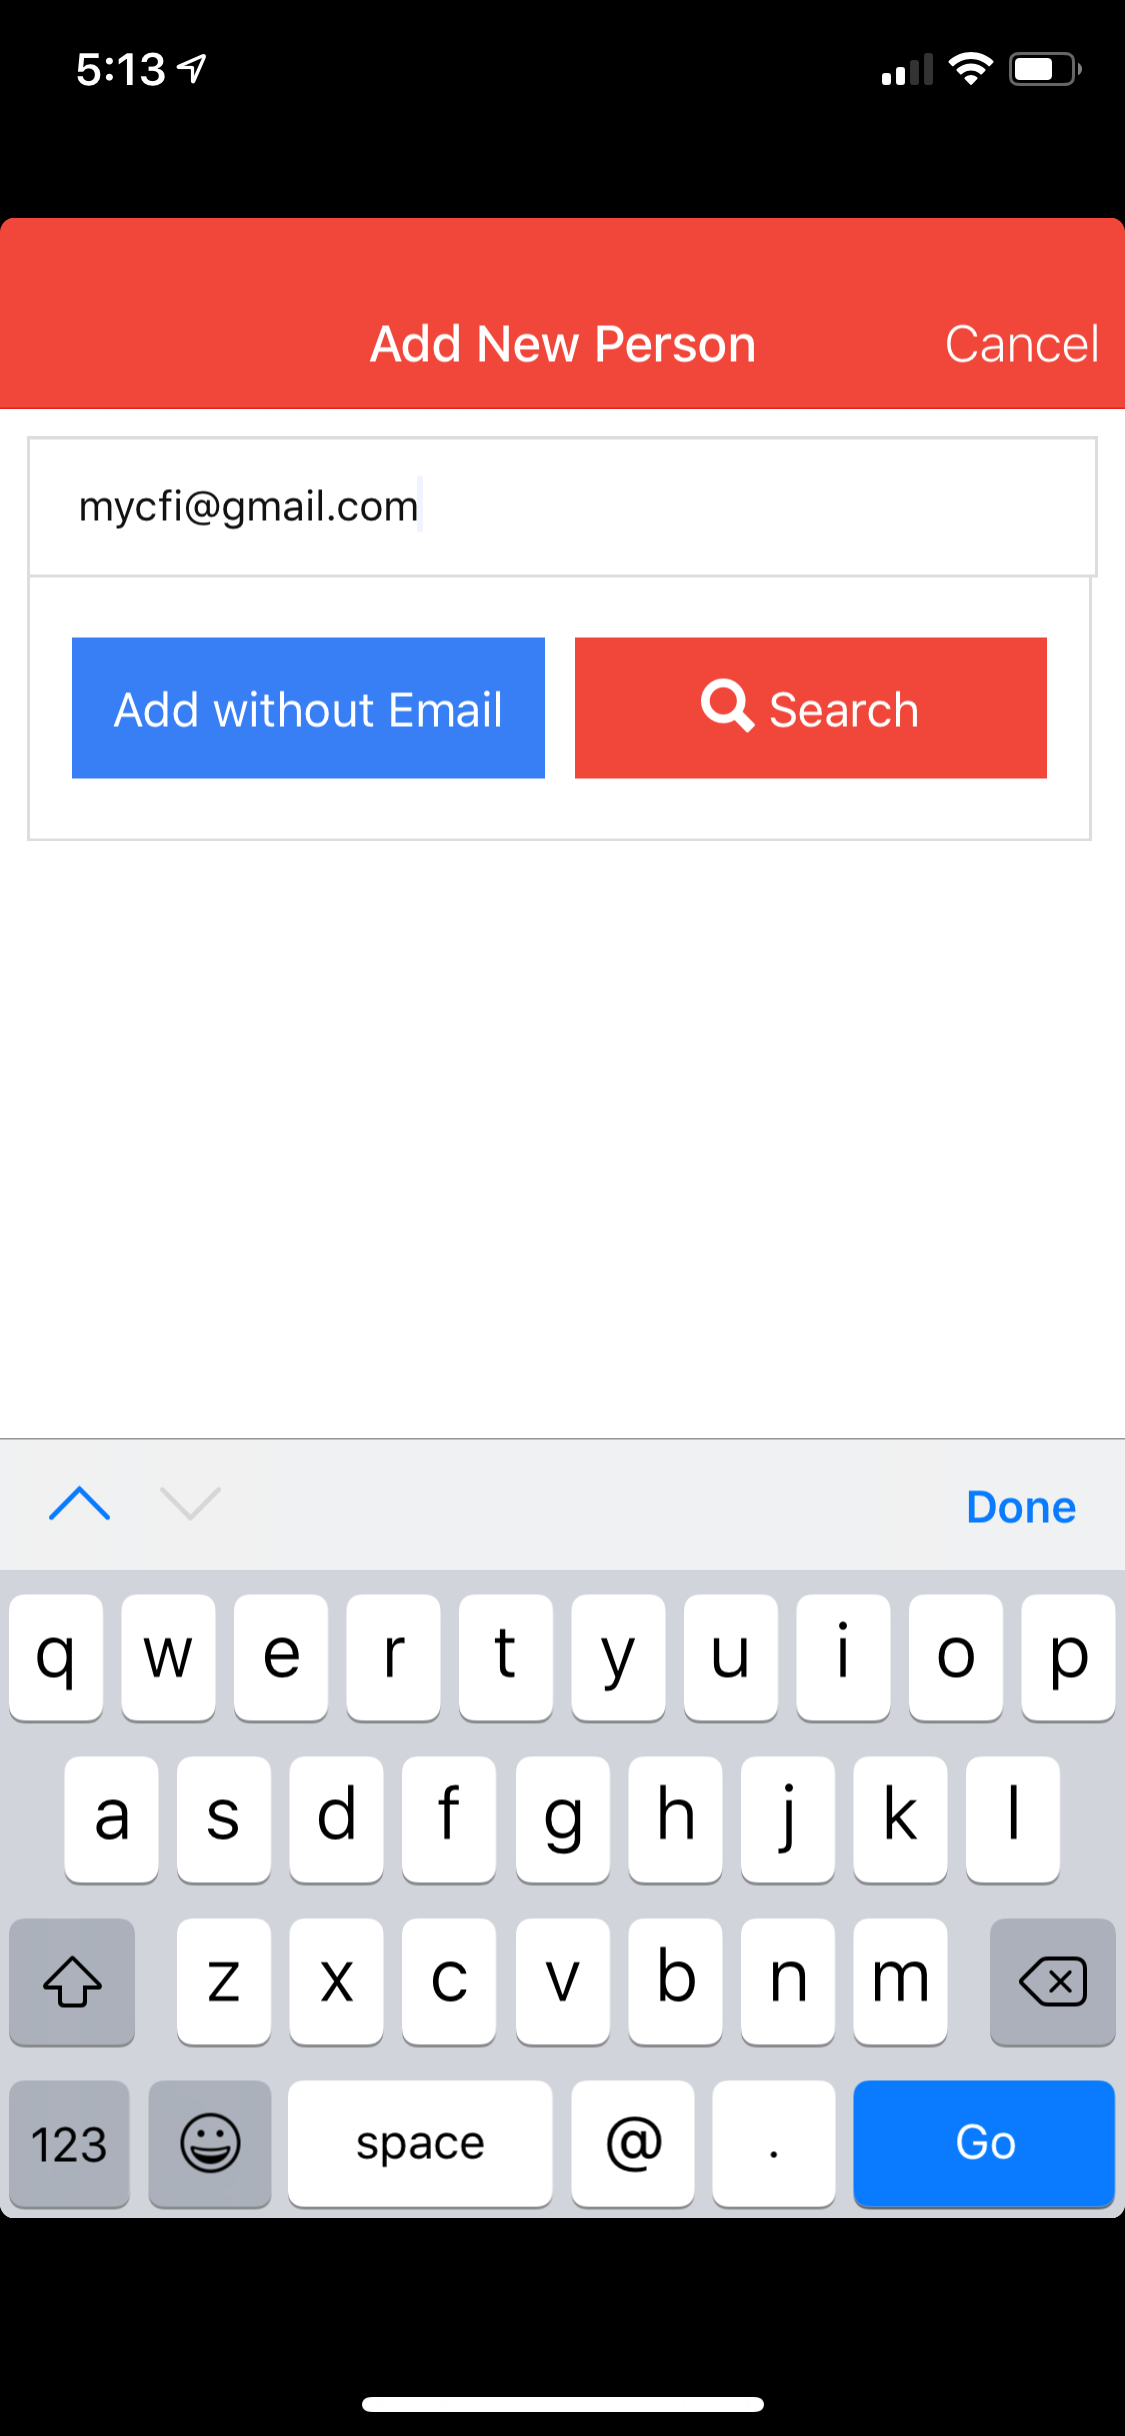
- Add New Person
- Enter your email address
- Select Person Type of: CFI
- Enable: “Allow CFI Access”
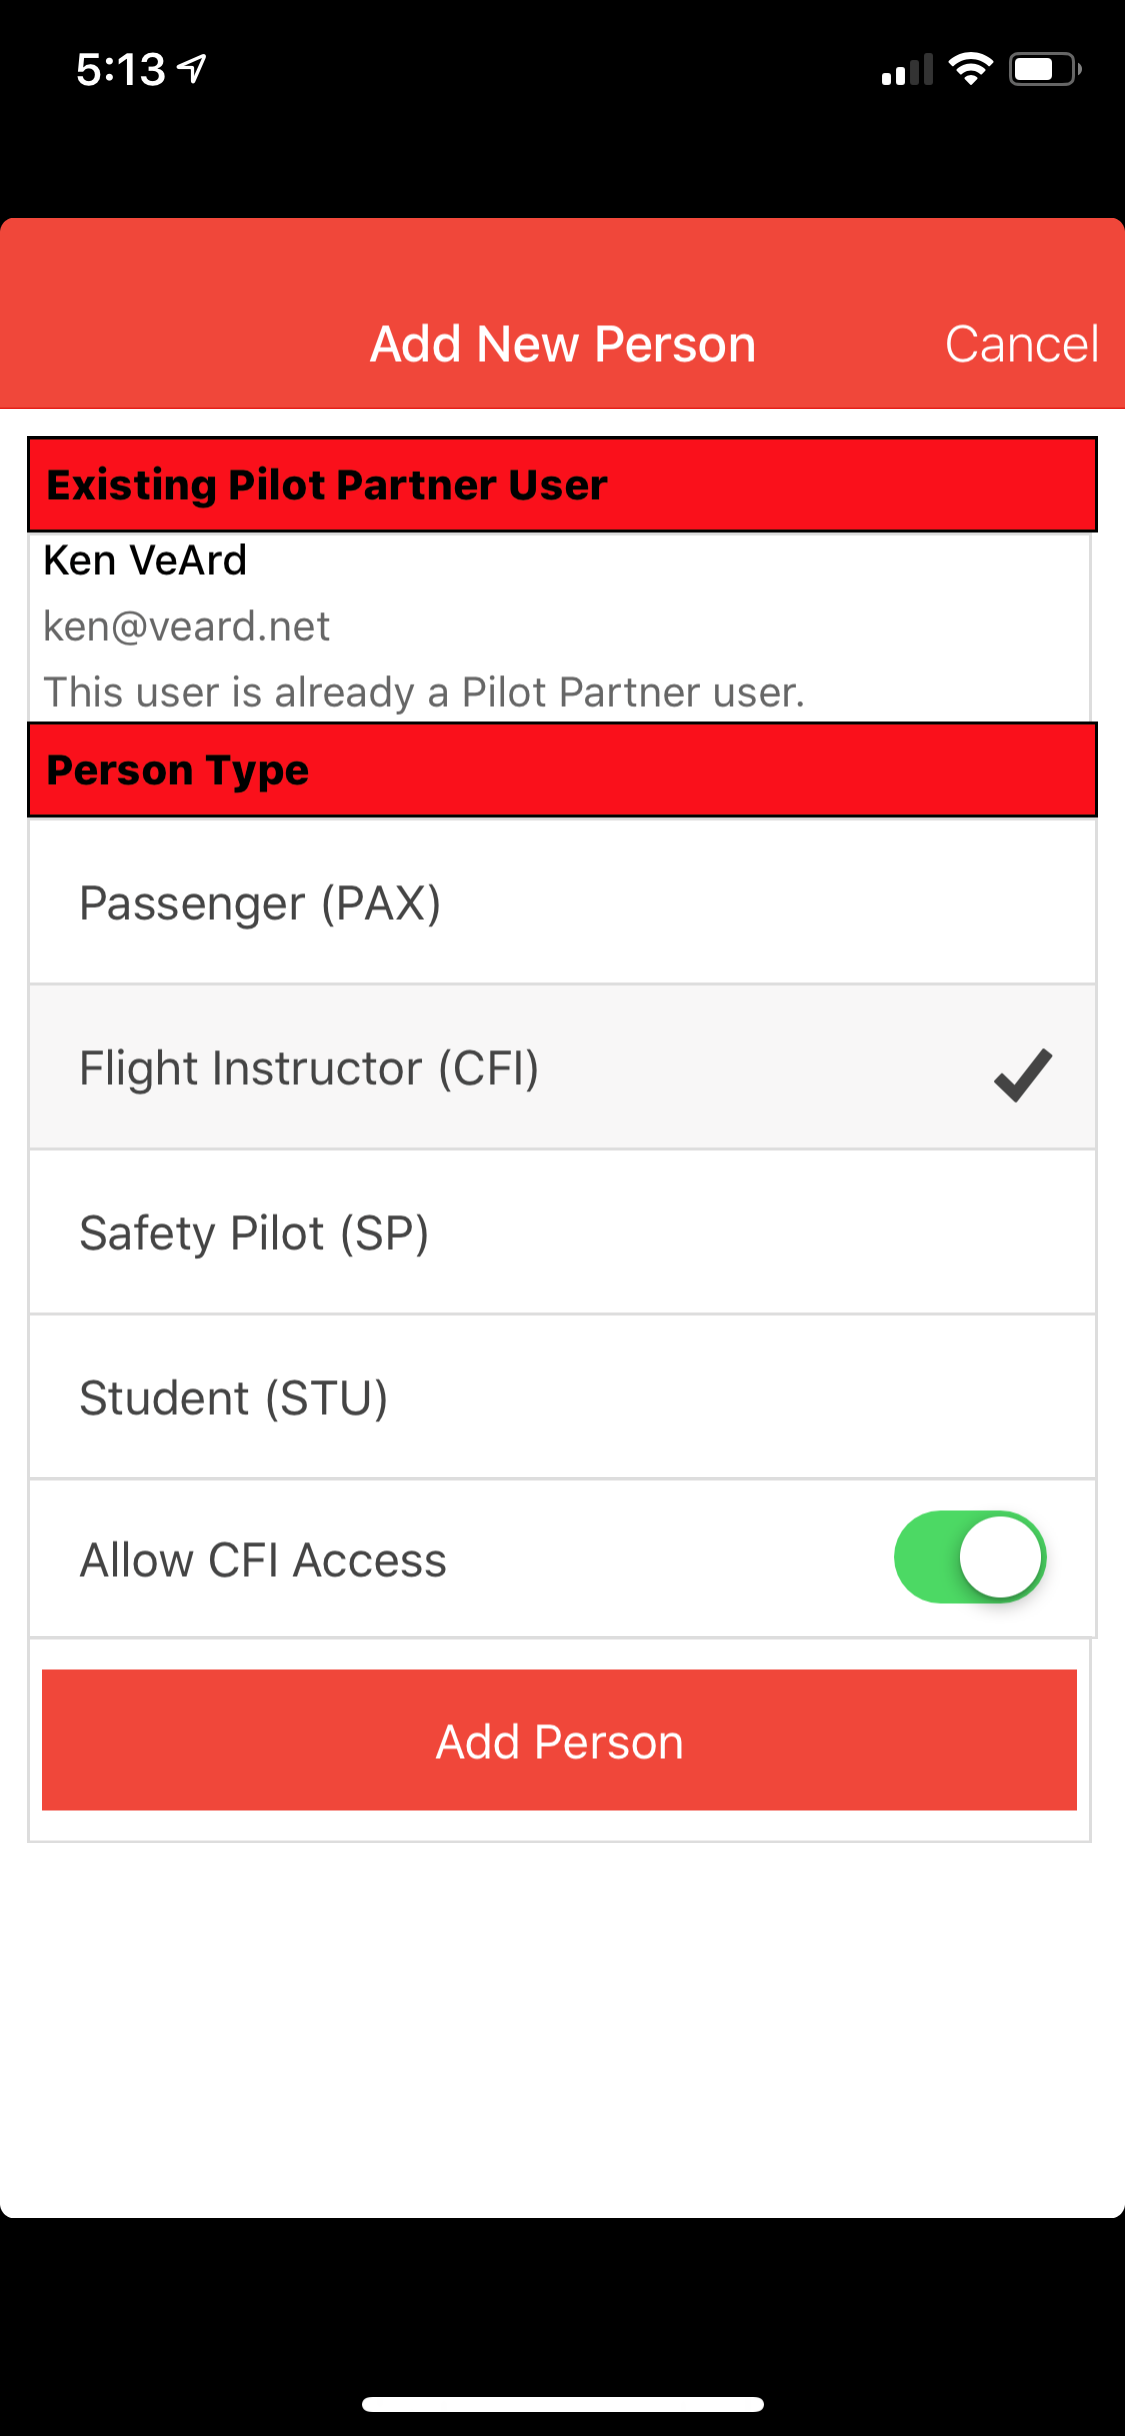
Note, your student can later disable the CFI Access if your student is no longer flying with you and they do not want you to have access to their logbook. When this is enabled, you will be able to see all of your student’s flights regardless if you were providing them dual instruction or not. When this is disabled, you will be able to only see the flights where you provided dual instruction to them.
Method 2) Invite Students from CFI Dashboard
This is a useful method if your student isn’t already a Pilot Partner user. You will need to know your student’s email address. This method also qualifies you for the referral bonus that will give you a 6 month free addition to your Pilot Partner subscription when your student purchases a subscription.
To use this method:
- Visit the CFI Dashboard at: CFI Dashboard
- Click Students in the Left Navigation
- Click the Plus Sign in the upper right corner
- Type in your student’s email address
This Method will send your student an email inviting them to join Pilot Partner. When you student signs up either by clicking the link in the email they get or signing up normally but using the same email address you invited, Pilot Partner will automatically link you and your student to your CFI Dashboard.
You can also see the status of previous invites that you’ve sent on this page.
Setting up CFI Pay
CFI Pay is a tool that allows a CFI to invoice their student and accept credit cards. Pilot Partner handles the transaction and the CFI gets money transferred to their bank in two business days. This service is free to setup and keep active and the CFI is charged a simple transaction fee for each transaction (3.9% + $0.50 per transaction). Learn more about CFI Pay.
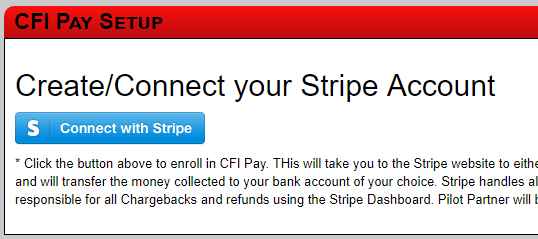
CFI works by integrating your Pilot Partner CFI Dashboard with your own Stripe.net Credit Card Processing account. Stripe is a service very similar to Square and other credit card services. We like Stripe because they have some great APIs that we can integrate with. If you already have a Stripe account, you can use that, otherwise Pilot Partner will walk you through the process. It typically takes 5 minutes or less to set up. There is no cost from Stripe to setup an account, and there is no cost from Pilot Partner to enable this feature. The only cost comes in the form of a transaction fee when it is used.
 To setup your stripe account:
- Visit your CFI Dashboard
- Click CFI Pay Dashboard in the Left Navigation
- Click “Connect with Stripe”
- Fill out the form to create you Stripe account. You will need:
- Your Bank Routing & Account Number (so Stripe can pay you)
- Any business names, EIN #s, etc if you are setting this up as a business account.
- You can set it up as a personal account only.
Setting up your CFI Profile
Setting up your CFI Profile allows you to automate signing of student logbooks with a simple Pin # instead of using your finger over and over again.

- Visit your CFI Dashboard
- Click CFI Profile in the Left Navigation
- Confirm your CFI # and Expiration Date
- Turn on Sign by Pin #
- Enter a 4 digit number you want to be your Pin #.
- Use your mouse or your finger to make your signature
Note: You can easily do this step on your iPhone as well.
Updating your CFI Expiration
When you renew your CFI Rating, simply visit your CFI Dashboard’s CFI Profile page and update the expiration date. Once you do this, all future flights you sign will have your updated CFI Expiration date.